Add Folders to Windows 11 Start Menu
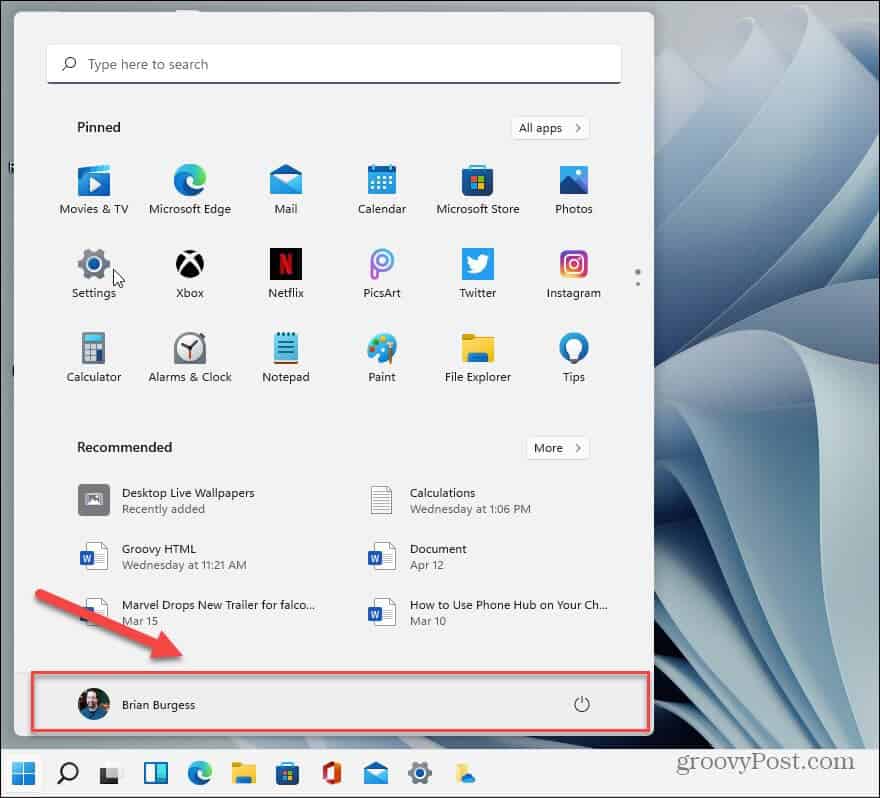
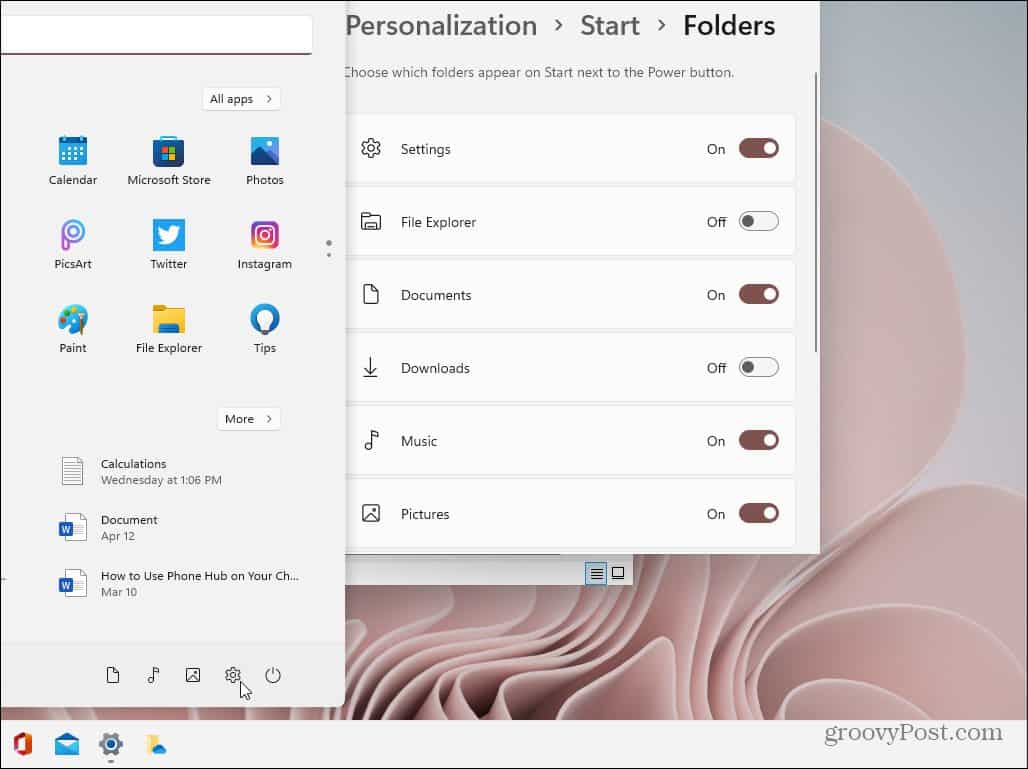
To get started, click the Start button and then click the Settings icon from the list of available apps. Note that if you are a practitioner of Keyboard Kung Fu, you can use the keyboard shortcut Windows Key + I to open Settings, too. Notice that at the bottom, there are no folder icons. The only thing there is the Power button.
Now, in the “Settings” app, click on Personalization from the left-hand column.
Next, on the right-hand column, click on the Start “Recent apps and items, folders” option from the list.
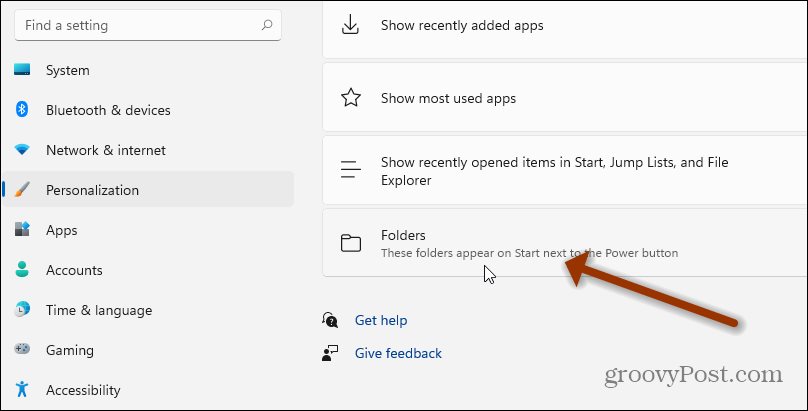
In the following Personalization section, click on the Folders “These folders appear on Start next to the Power button” option from the list.
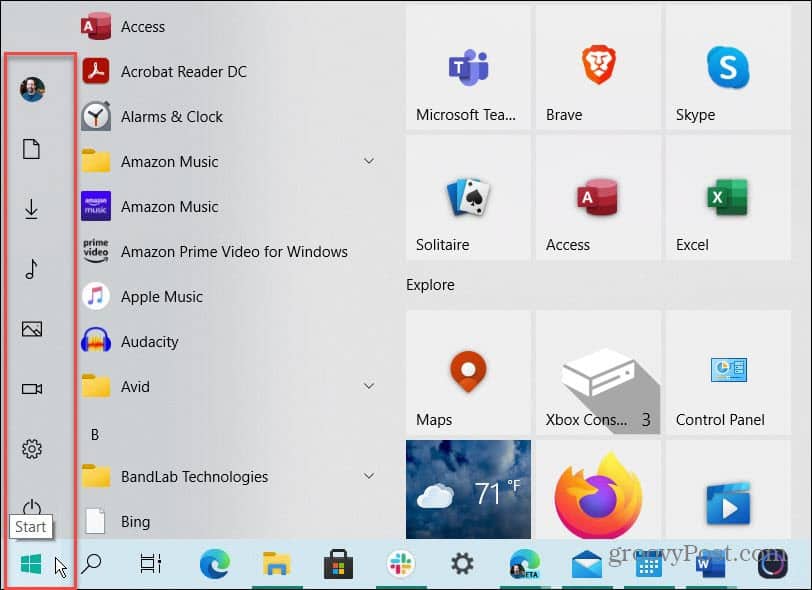
That’s all there is to it. No restart is necessary. The next time you launch your Start menu, you will have the folders you turned on in order at the bottom of the menu next to the Power button. In the example below, I turned on quite a few of them.
Remove Folders from Windows 11 Start
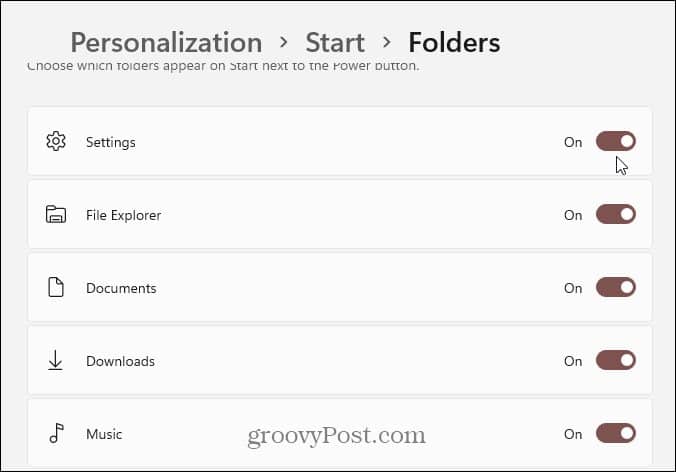
If you want to remove a button or two, you can. Just go back to Start > Settings > Personalization > Start > Folders and uncheck the ones you no longer want to show up on your Start menu. Below you can see I turned a few of them off, so they no longer display on the menu.
And you might have noticed my Start button is on the left where you’d expect it. You can do that on your system too. Please look at our article on how to move the Start menu and Taskbar on Windows 11.
Do you know where/how the users start menu pinned items are saved? apparently its no longer HKEY_CURRENT_USER\Software\Microsoft\Windows\CurrentVersion\CloudStore
/Thomas
Comment
Name *
Email *
Δ Save my name and email and send me emails as new comments are made to this post.
![]()

