How to Use Storage Sense on Windows 11
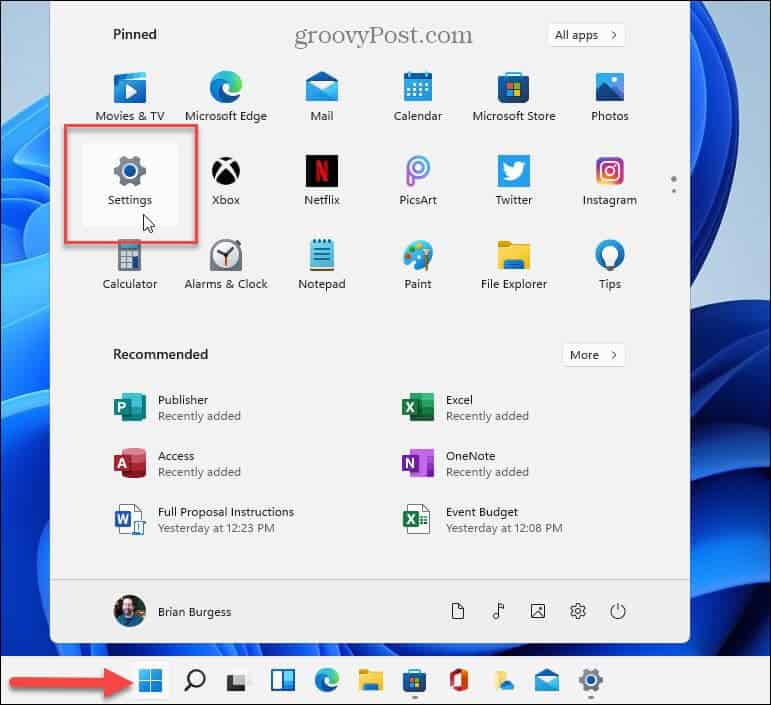
To turn it on, click the Start button and open Settings. Alternately, you can use the keyboard shortcut Windows Key + I to open Settings directly.
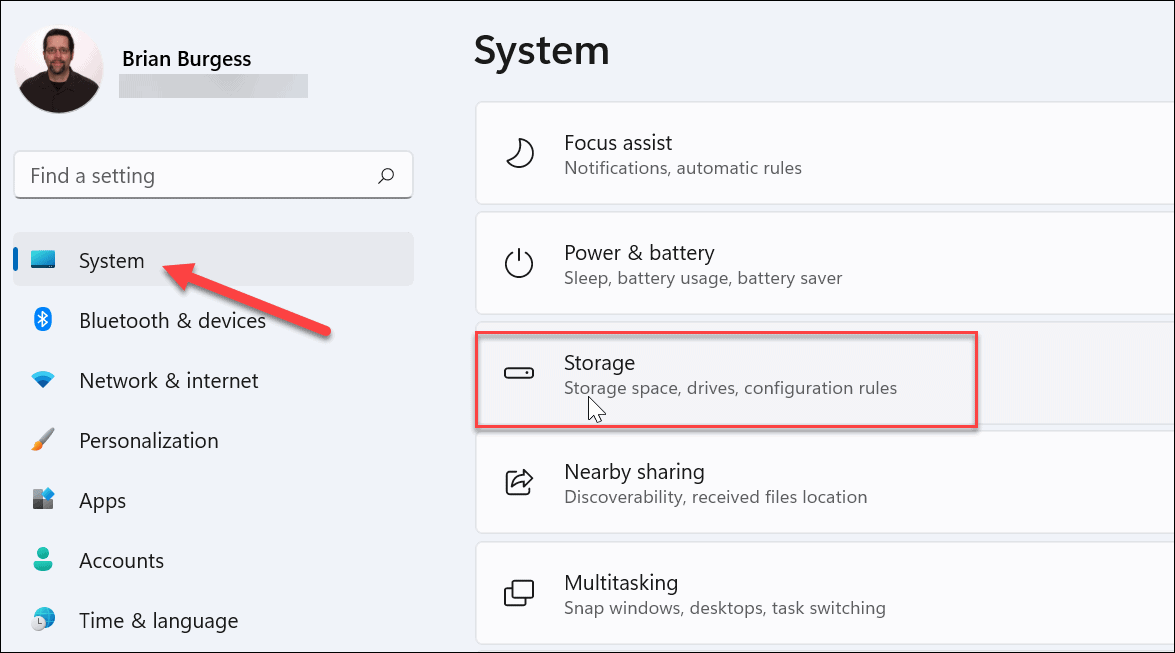
Once you have Settings open, click System from the list on the left. Then, on the right, scroll down and click Storage.
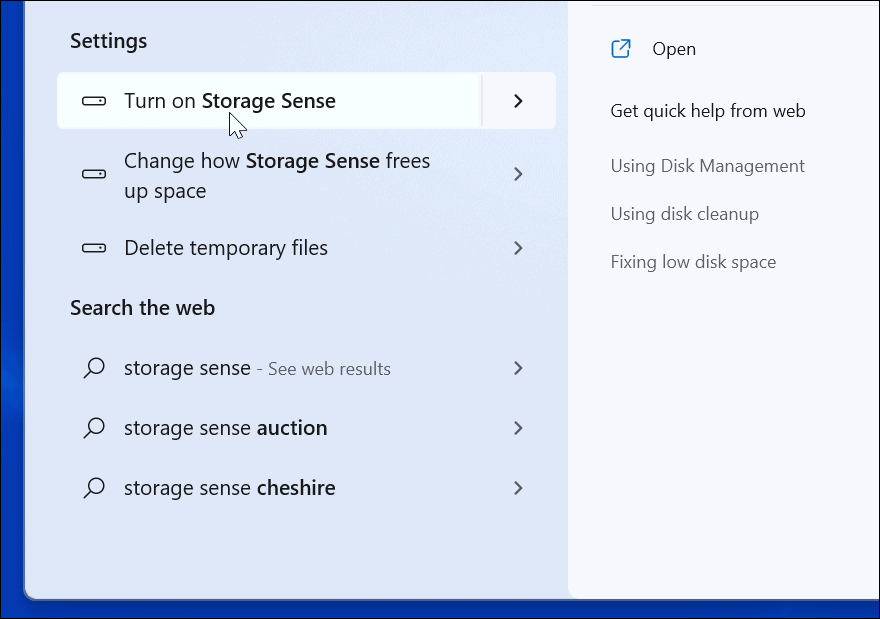
Note: A quicker way to get there is to hit the Windows Key and type: storage sense. Then from the list of results, click “Turn on Storage Sense.”
Either way, you do it, the Storage section in Settings will show how much space is being used by files on your system. Then you can flip on the Storage Sense switch under the “Storage management” section.
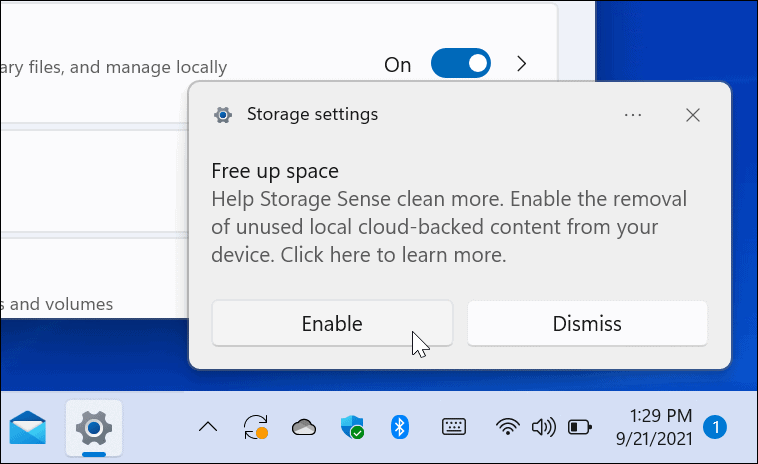
After you turn it on, you should see a notification pop up letting you know you’re about to turn it on. Click the Enable button.
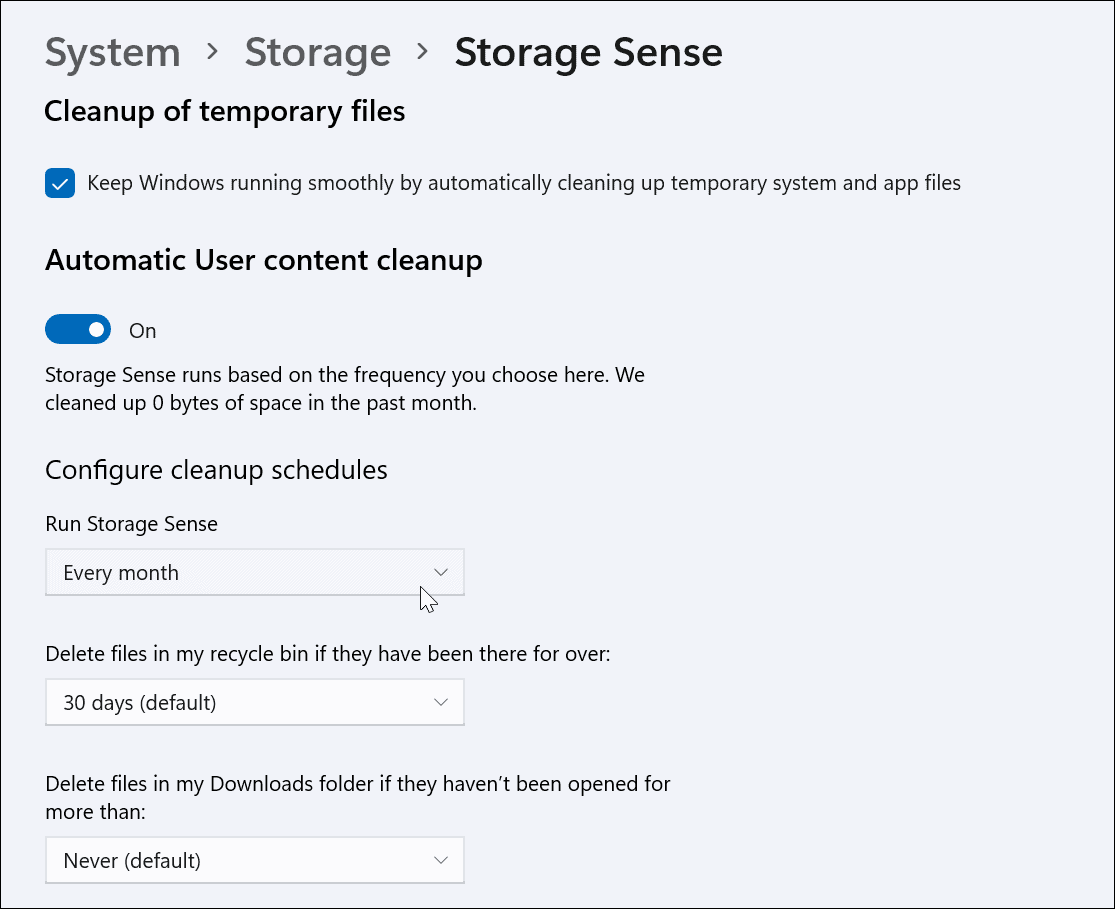
Click on Storage Sense from Settings again, and you can configure it. You’ll have several options, such as determining how often you want it to run. Also, pick how often to empty the Recycle Bin. You can select from daily, weekly, monthly, or only when disk space is low. Generally, keeping the default settings should be good. The option to remove temp files is enabled by default.
Another thing to point out is Storage Sense will delete files in your Downloads folder if they haven’t been opened for a set amount of time. You can set it from one day, 14 days, 30 days (default), 60 days, or never.
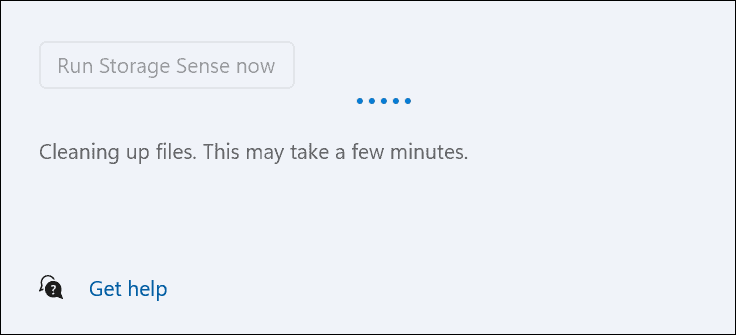
Finally, you have the option to run Storage Sense manually. Just click the Run Storage Sense now button – it’s the final button on the page. The amount of time it takes to run will vary depending on your files and storage space. When it’s complete, you will see how much drive space was freed up.
More on Storage Space
For more on getting the most storage out of your hard drive or SSD, check out how to limit the amount of disk space used by the Recycle Bin. And another cool feature on Windows 11 is called Cleanup Recommendations. It’s the option beneath Storage Sense in Settings.
It scans your system and recommends “Temporary Files,” “Large or unused files,” “Files synced to the cloud,” and “Unused apps” that can be deleted. If you have a drive that is low on space, and you want to keep it as free as possible. The new storage settings on Windows 11 can be helpful. And if you’re running Windows 10, read how to use Storage Sense on that version of Windows. Comment Name * Email *
Δ Save my name and email and send me emails as new comments are made to this post.


![]()
